How to translate iOS app using XCLOC file
What is XCLOC file #
XCLOC (Xcode Localization Catalog) is the new format for localizing Xcode projects which Apple introduced in Xcode 10.
How to translate an Xcode project with XLOC #
The process of translation with XCLOC contains four simple steps.
- Add Languages
- Export
- Translate (This is where LocalizeBot helps).
- Import
Add Languages #
First, you need to add languages that your app wants to support.
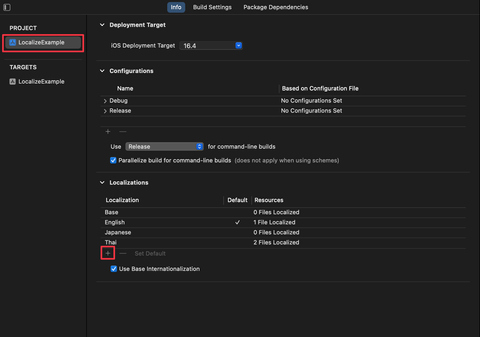
- Select your project.
- Select Info tba.
- Under the Localizations section, click the Add (+) button and select a language you want to support.
Export #
You can export Xcloc directly from Xcode.
To do that:
-
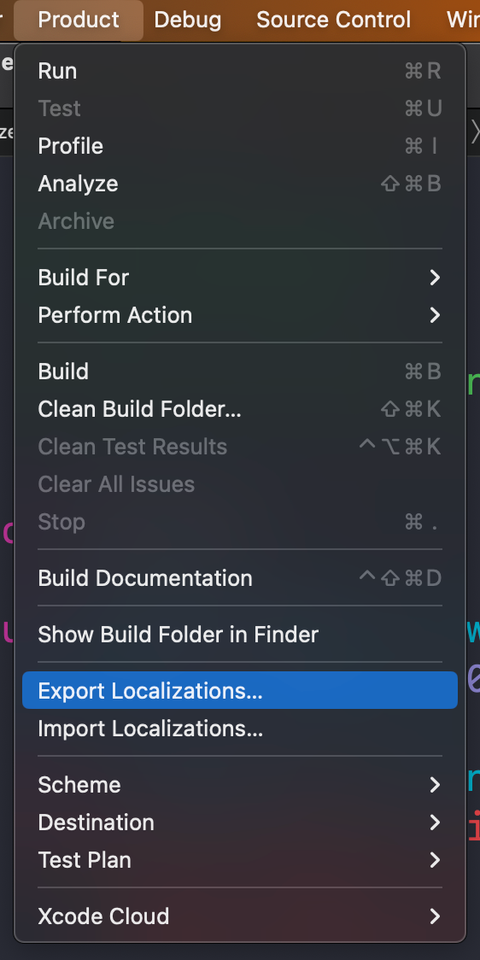
Open your project in Xcode.
-
Select "Product menu > Export Localizations...".
-
Select the destination location.
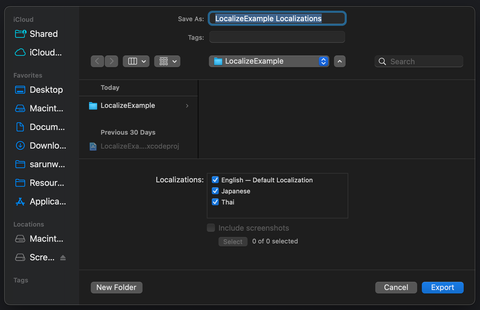
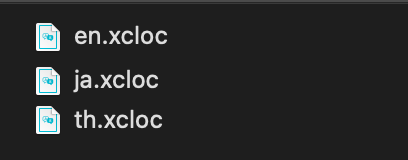
You will get a .xcloc file for each language.
Translate #
Normally, you would send these .xcloc files to translators to translate.
This is where LocalizeBot comes to help.
To translate .xcloc files:
-
Drag and drop those files into the LocalizeBot app.
-
Click Translate button.
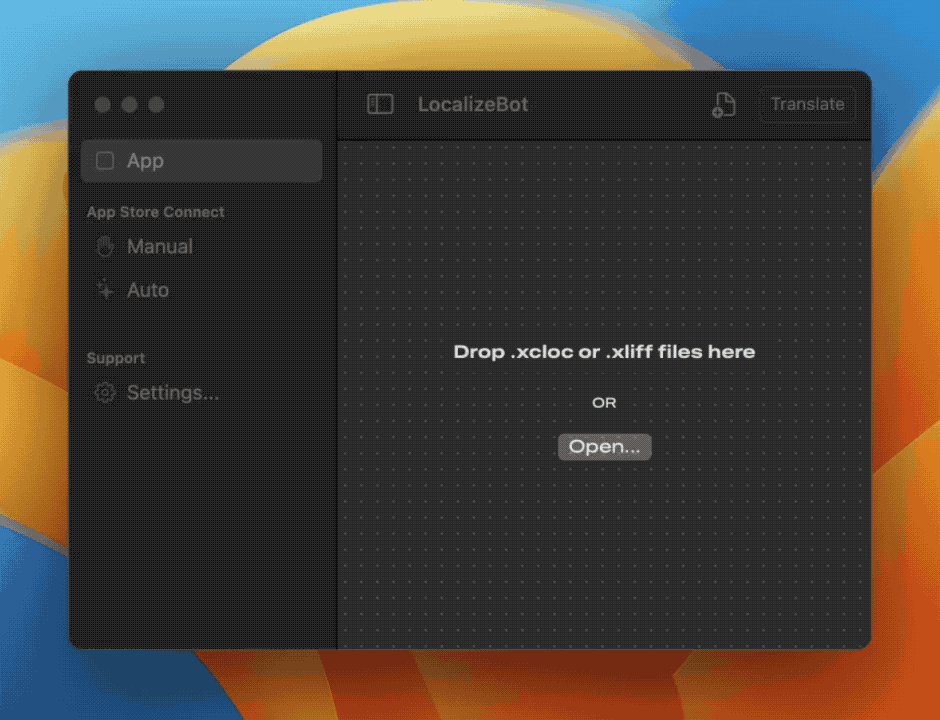
You will get translated .xcloc files as a result.

Import #
The last step is to import the translated files back to the Xcode project.
To do that:
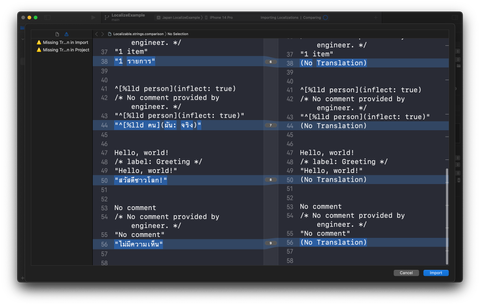
- Select "Product menu > Import Localizations...".
- Select the
.xclocfile and click Import. - Xcode will show the sheet comparing the translations for you to review. Click Import to confirm the operation.